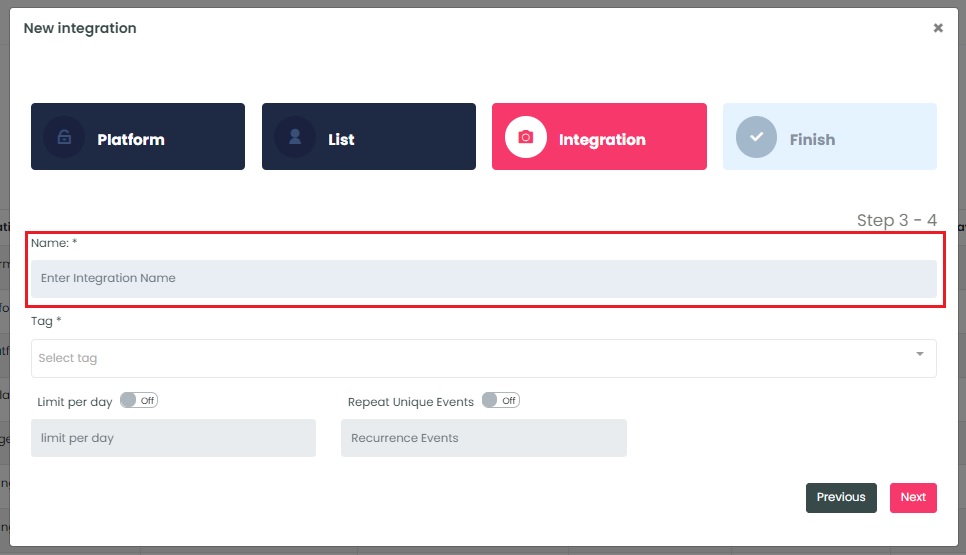
Create a name for this integration in the Name field.

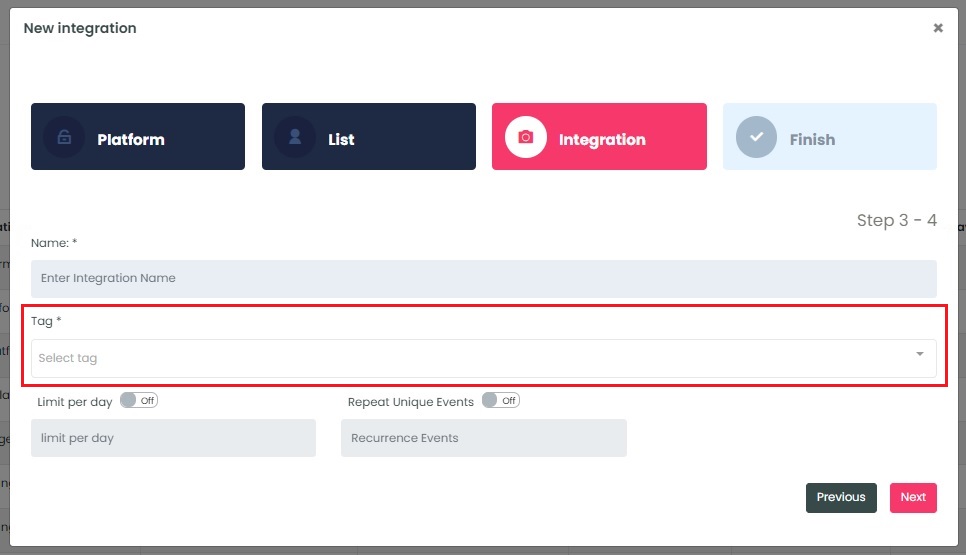
InboxGeek will load all existing tags from ActiveCampaign into the Tag drop-down menu.
The tag that you use in this step will be the tag that is added to the contact once InboxGeek has sent the event to ActiveCampaign.
Either select a tag from the drop-down or create a new one by typing directly into the field and then clicking Create tag (this will create the tag in ActiveCampaign, too).

If a tag was created successfully, a window will appear with confirmation.
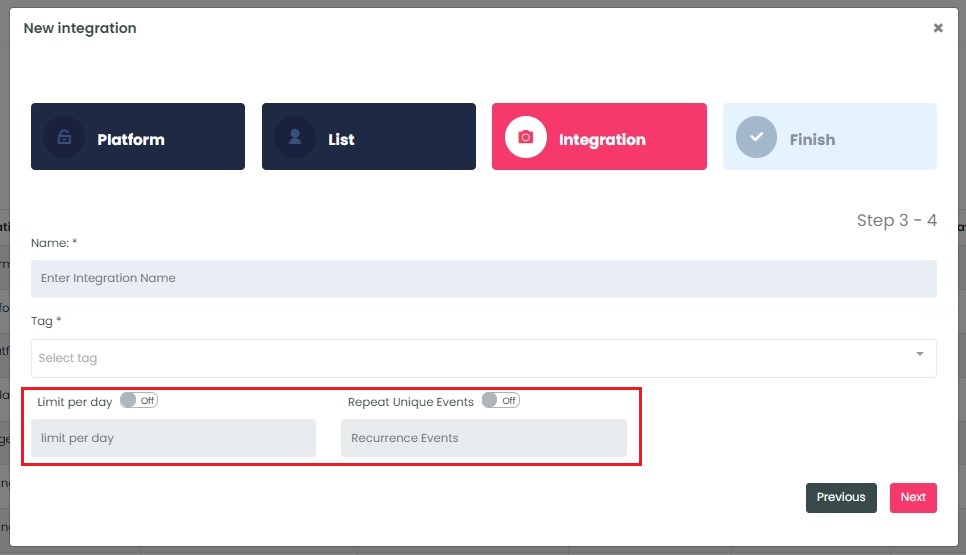
Select the customizations for this integration:
- Limit per day→ This feature is for your daily event limit. InboxGeek recommends to set this at 200 events per day to start. If you do not set a limit, we will notify your provider for every login of ALL subscribers from your list.
- Repeat unique events→ This feature allows you to choose how frequently you want InboxGeek to notify ActiveCampaign when the same subscriber is active in their inbox. Entering 1 is equivalent to daily, 2 is every two days, 7 is every seven days or every one week, 30 is every 30 days or every one month, etc.

Once features have been enabled and completed, click Next. A window will appear to confirm the integration was a success.
Return to the ActiveCampaign dashboard and create a new automation.
NOTE: InboxGeek will begin sending events after midnight even if an automation is not created in your ActiveCampaign account. If you are not ready to create your automation, turn off this integration immediately. To learn how, visit the Your InboxGeek Portal guide > Turning off your integration.
