Login to your EmailOctopus account and click Automations → Create.

Title your new automation and choose the list from the drop-down that you had selected during your InboxGeek integration.
Click Save & next.

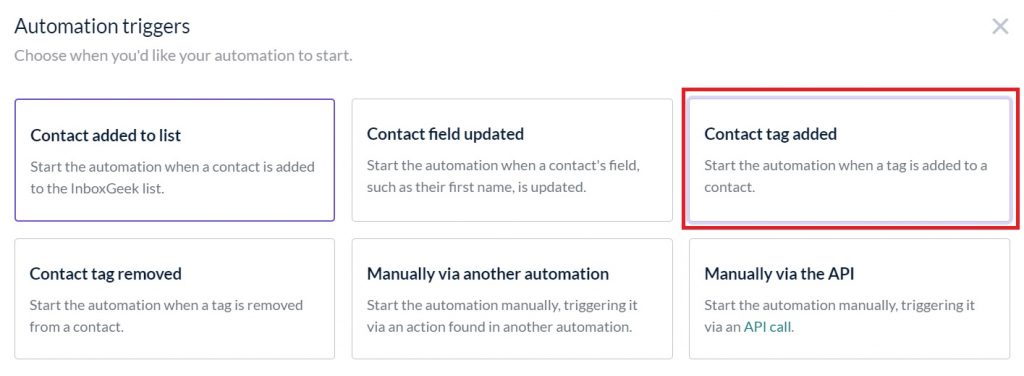
Select Contact tag added as your automation trigger.

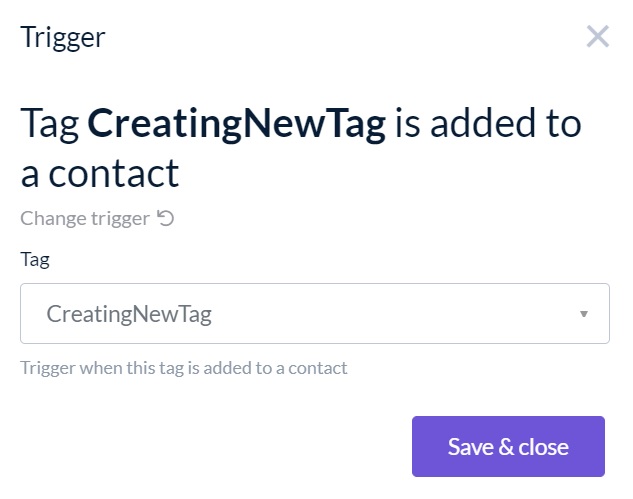
From the drop-down, select the tag that you chose during your InboxGeek integration.
Click Save & close.

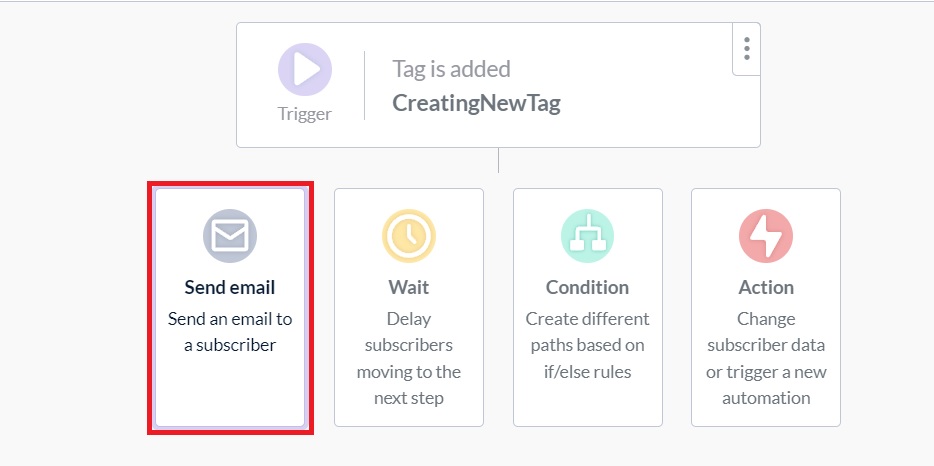
For the next action in your automation, select Send email. Do not add any delays, conditions or other actions between the trigger and this send email action as it may prevent your contact from receiving your email in real-time.

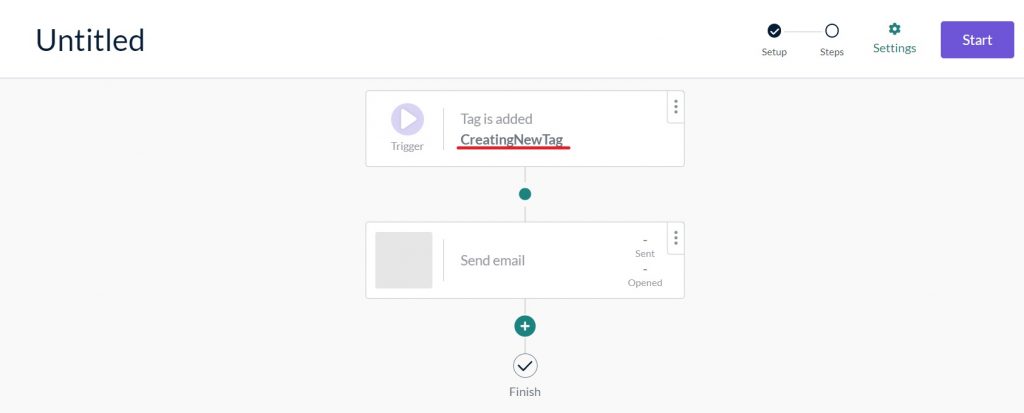
Confirm that the tag in your automation matches the tag in your InboxGeek integration.


From there, complete the automation as desired.
