Before creating a LiveOpens integration with Beehiiv, a few tasks need to take place:
- In InboxGeek, create your Beehiiv platform.
- In Beehiiv, create an automation for an InboxGeek custom field.
- In Beehiiv, begin creating the automation that will be used with your LiveOpens integration.
Once all three tasks are completed, then you can begin your Beehiiv integration.
Create Your Beehiiv Platform
Login to your InboxGeek account.
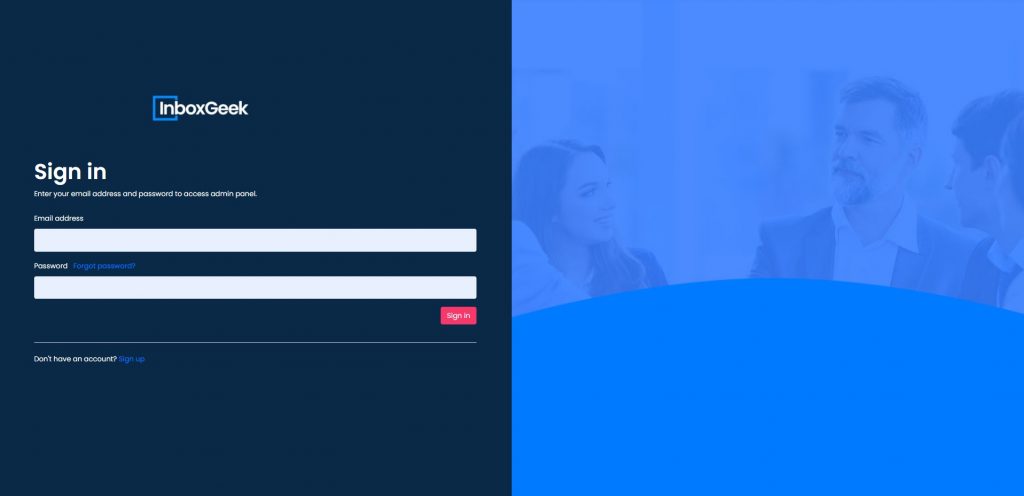
Click on Platforms → Add New Platform

Add your new platform by first giving it a name that will easily distinguish it from another platform, then choose Beehiiv from the drop-down menu.
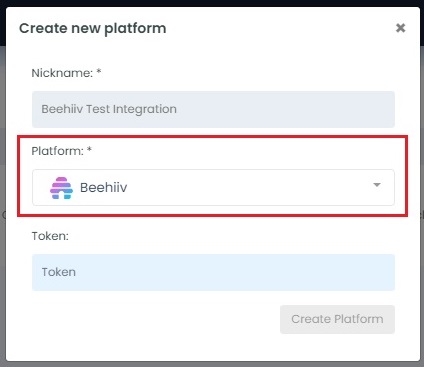
To retrieve the Token (API key), login in to your Beehiiv account.
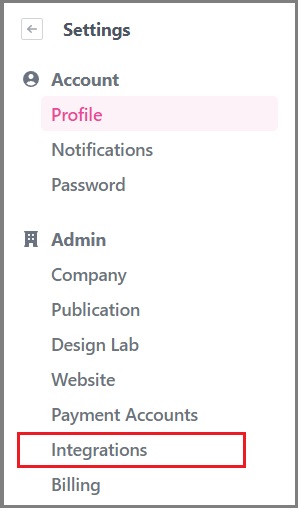
From your Beehiiv dashboard, click Settings.

Click Integrations.
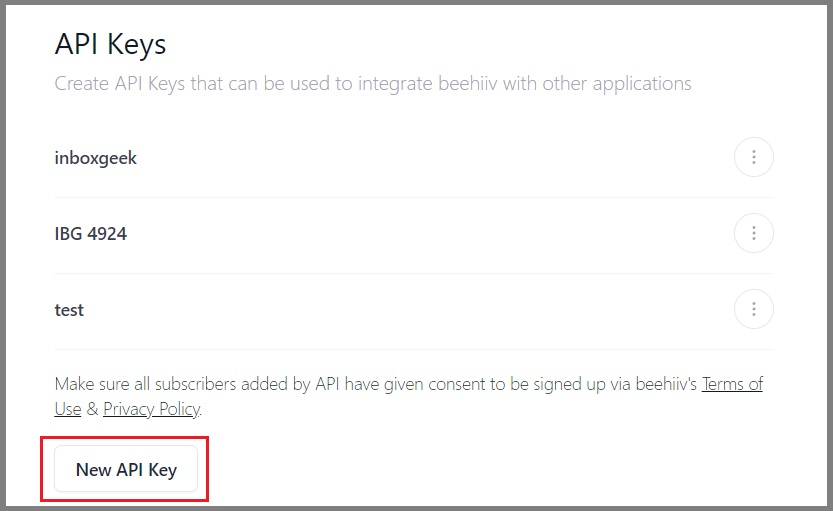
Click New API key.
Name your API key and then click Create New Key.
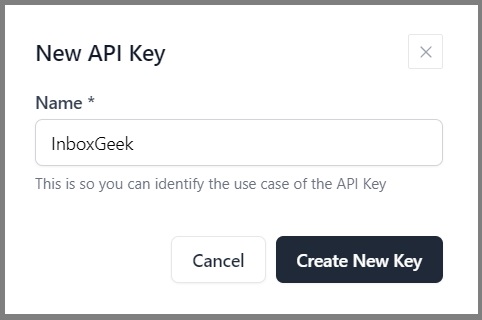
Copy your API key.
**NOTE** this is the only time you can copy the API key, it will disappear after this screen and a new API key will need to be created if a copy is not used right away or saved somewhere for reference.
Return to your InboxGeek window and enter the copied API key into the Token (API key) field.
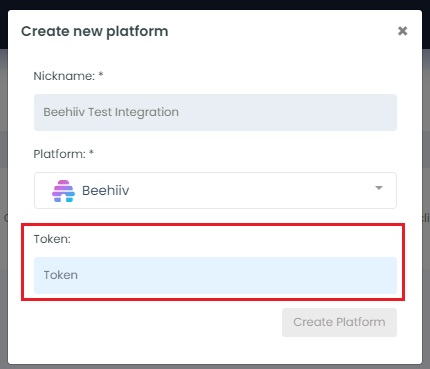
Once the API key is entered into the Token (API key) field, a new field, Publications, will appear.
From the Publication drop-down menu, select the Publication that you will be using with your LiveOpens integration
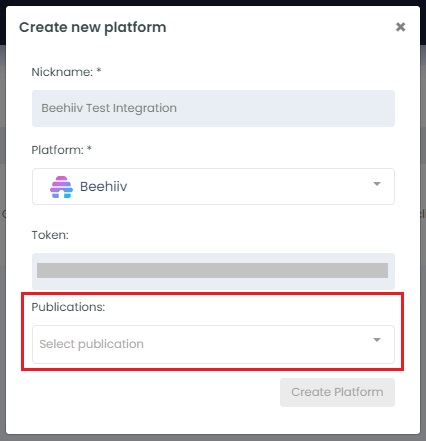
Click Create Platform. InboxGeek will fire a ping to the API key to confirm all is accurately entered.
If there are no issues then it will add the platform.
Create an Automation for an InboxGeek Custom Field.
InboxGeek uses a custom field value to identify which subscribers you will be targeting and which subscribers InboxGeek sends events for.
After you create your Beehiiv platform within InboxGeek, you will need to create a custom field within your Beehiiv account. For this example we will call our custom field inboxgeek_list. The value for this new custom field is empty so you can choose which value to identify your selected subscribers.
In order to efficiently bulk apply a custom field value to your selected subscribers we recommend you create an automation.
Follow these instructions, or click here to watch the 1 minute video, to set up this automation.
- Click New Automation.
- Create the trigger:
- Add trigger
- Select Manual
- Click Activate
- Click Save
- Create the 1st Action → Update Subscription.
- Create the settings for this action.
- Keep or transition subscription status to… → Select Active.
- Keep or update custom field(s) to… → Click Add Custom Field.
- From the Custom Field drop-down, select your new custom field. We will choose inboxgeek_list.
- Enter Custom Field Value
- The custom value you will enter here is acting as a subscriber list so that InboxGeek can recognize the subscribers that you use for your integration.
- Remember the custom field name and value you enter here as it will be used in Step 2 of your LiveOpens integration.
- If you plan to have multiple Beehiiv integrations, you will want to create a unique value for this custom field that is easy to identify the association with the subscribers it will be attributed to.

- Keep or transition subscription status to… → Select Active.
- Disregard the remaining settings unless you’d like to add a tag to these subscribers in addition to their new custom field data.
- Click Activate and then Save.
Your Automation should look like this with the exception of the new custom field name you created and the custom value that you chose:
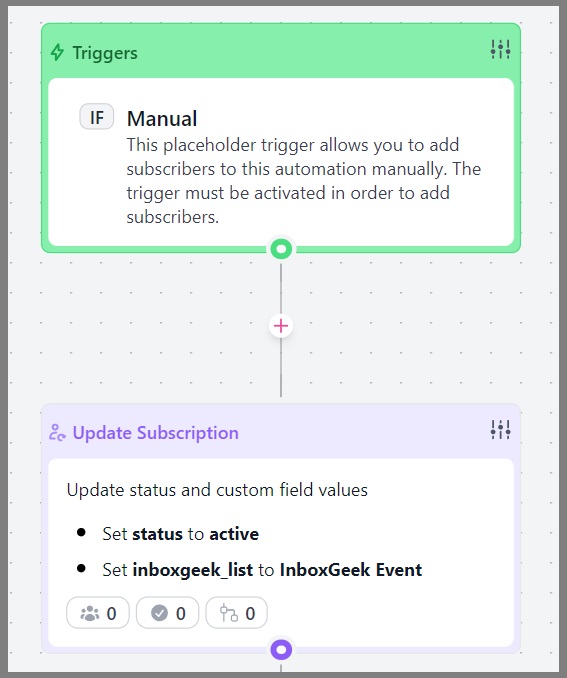
To confirm your setup, view the 1-minute video below.
The automation for an InboxGeek Custom Field has now been created and is ready to be used.
You can now add all targeted subscribers to this automation in order for them to sync to your LiveOpens integration.
Begin Creating The Automation That Will be Used With Your LiveOpens Integration
From your Beehiiv account. click New Automation.

Name your automation and click Save Automation.
Remember this automation name as you will refer to it when you create your LiveOpens integration, step 3.

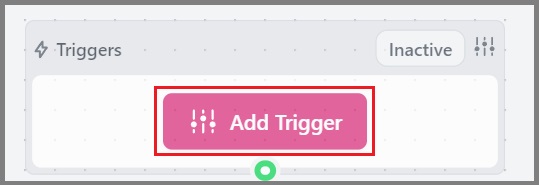
Click Add Trigger → Add by API.
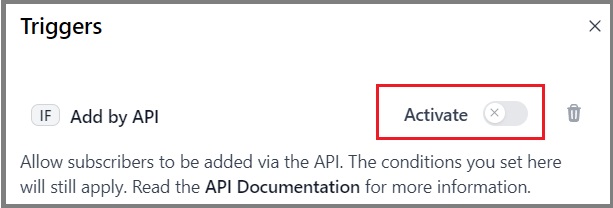
Click Activate to turn the trigger on. Then click Save.
Create the 1st action, Send Email.
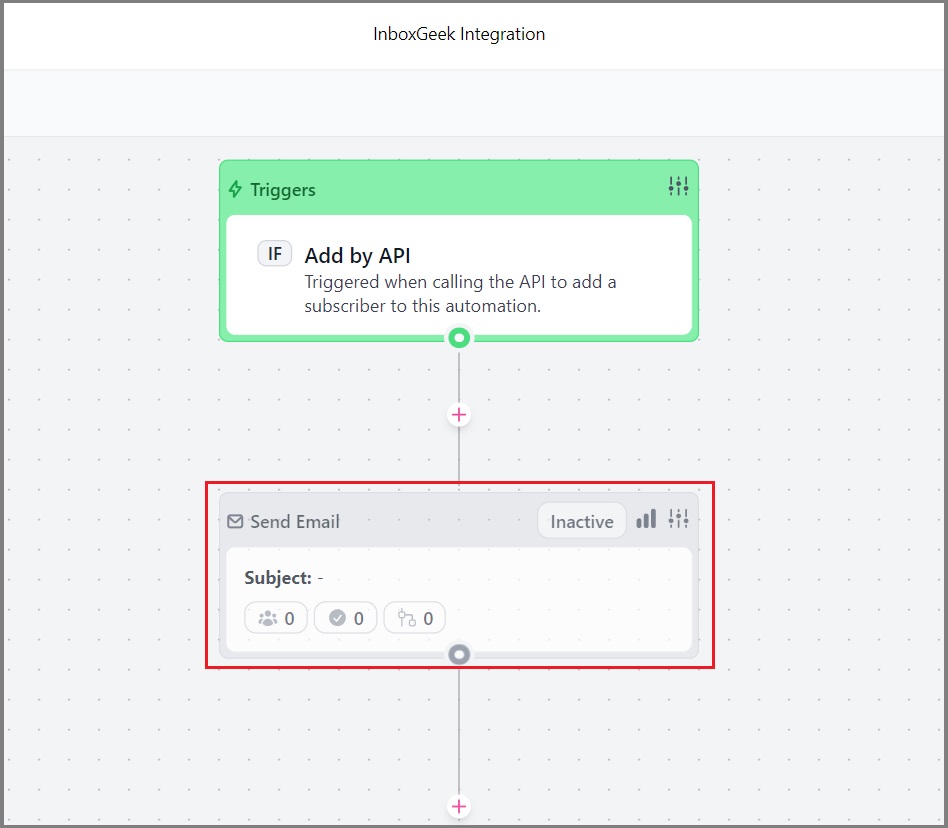
You do not need to create the settings for this action right now.
You will return to this automation, complete the settings for Send Email, and finish setup for the entire automation once your LiveOpens integration has been created.
Congratulations!
You have now completed the tasks required to create your LiveOpens integration.
Create Your LiveOpens Integration
From your InboxGeek dashboard, click on LiveOpens → Integrations.

Click the Add New button for a new integration.

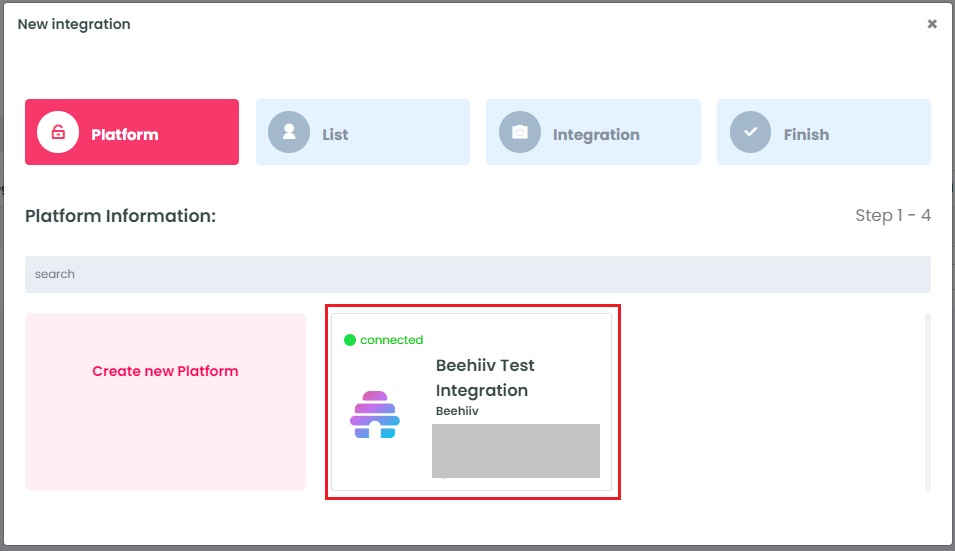
InboxGeek will store all previous created platforms for quick integration creation. Select your previously created Beehiiv platform and click Next.
Click Create Platform. InboxGeek will fire a ping to the API key to confirm all is accurately entered.
If there are no issues then it will add the platform and populate the Next button.
Click Next to move to the next tab, List.
