Before creating a LiveOpens integration with Ongage, you need to create a custom InboxGeek field within Ongage. Once completed, then you can create your LiveOpens integration.
Create a Custom InboxGeek Field Within Ongage
Click List → List Settings → Create New Field

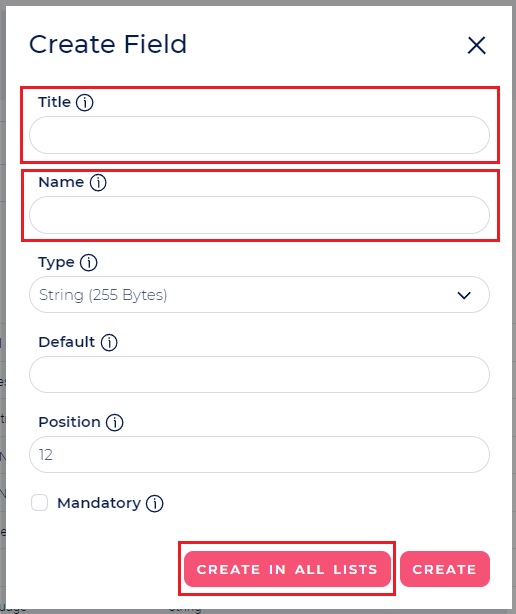
Complete the settings:
-
- Title: Enter a title such as InboxGeek List, or something that is easily identifiable as related to InboxGeek when you are setting up your InboxGeek integration and email automation in the upcoming steps.
- Name: This can be exactly the same as the Title
- Type: Leave as string
- Default: DO NOT ENTER ANYTHING HERE
- Position: Not necessary to change but completely preference.
- Mandatory: DO NOT CHECK THIS BOX
- Click Create in all lists
Create your LiveOpens Integration
Login to your InboxGeek account.
Click on LiveOpens → Integrations.

Click the Add New button for a new integration.

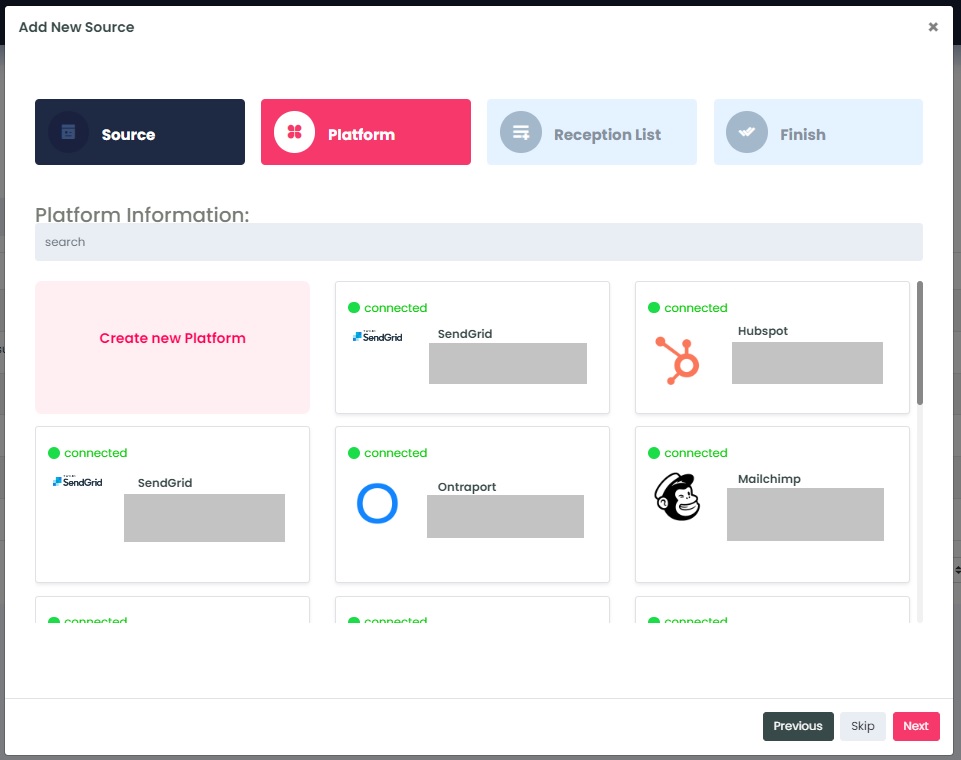
InboxGeek will store all previous platform account identification for quick integration creation. If the account for your new integration is not already stored, click Create new Platform.
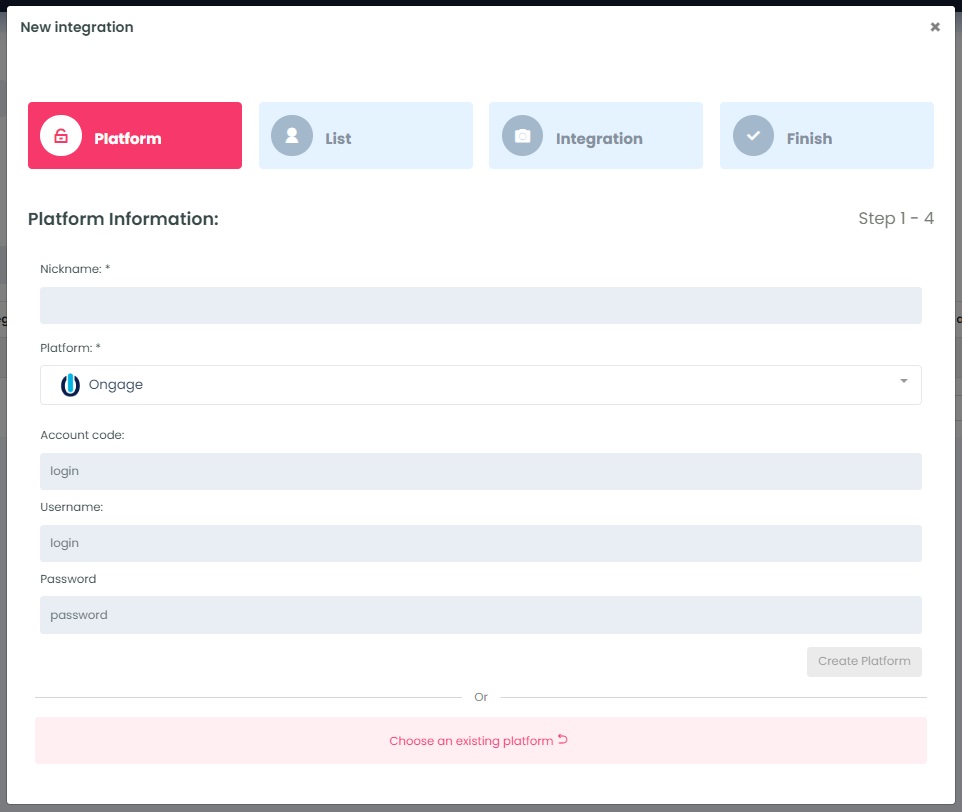
From the drop-down menu, select Ongage.
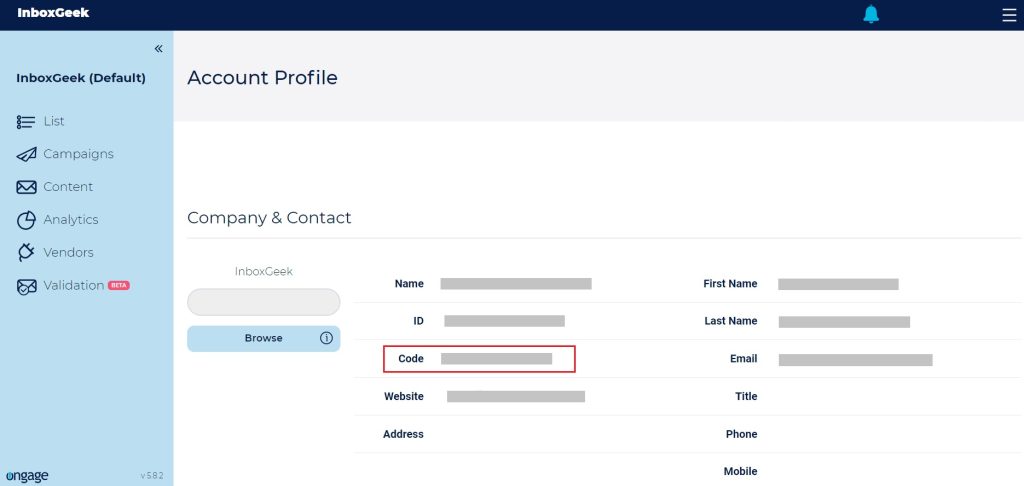
To retrieve the Account Code, login to your Ongage account.
Click on Profile → Copy Code.
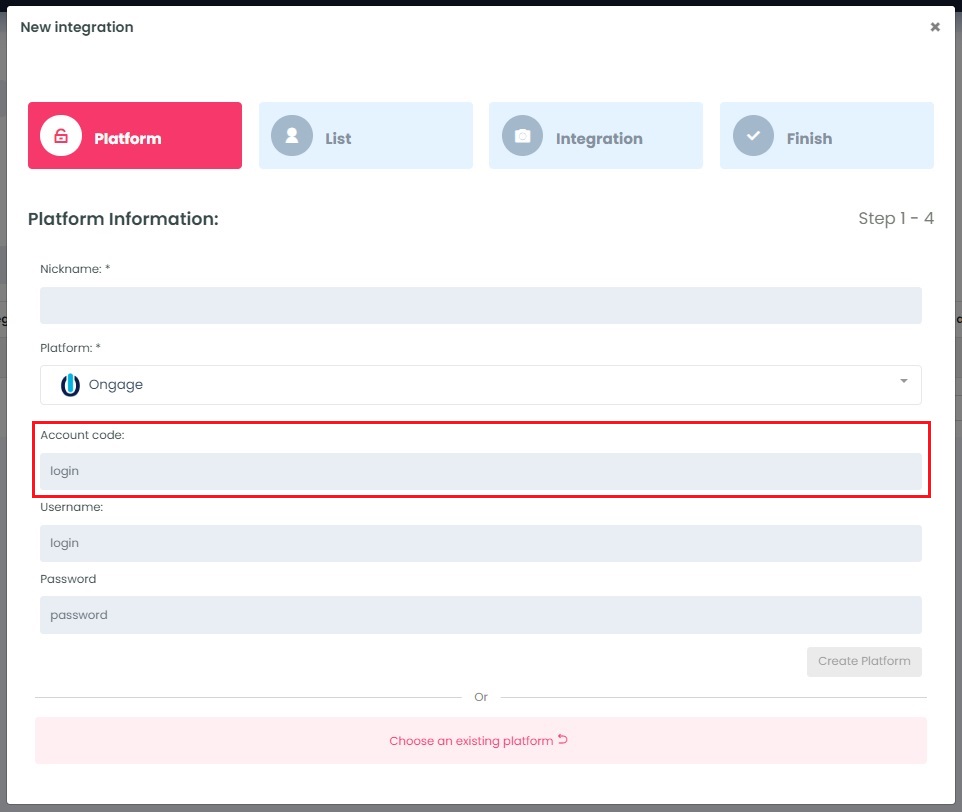
Return to InboxGeek and enter the copied Code in the Account Code field.
Enter your Ongage login credentials for the remaining fields.
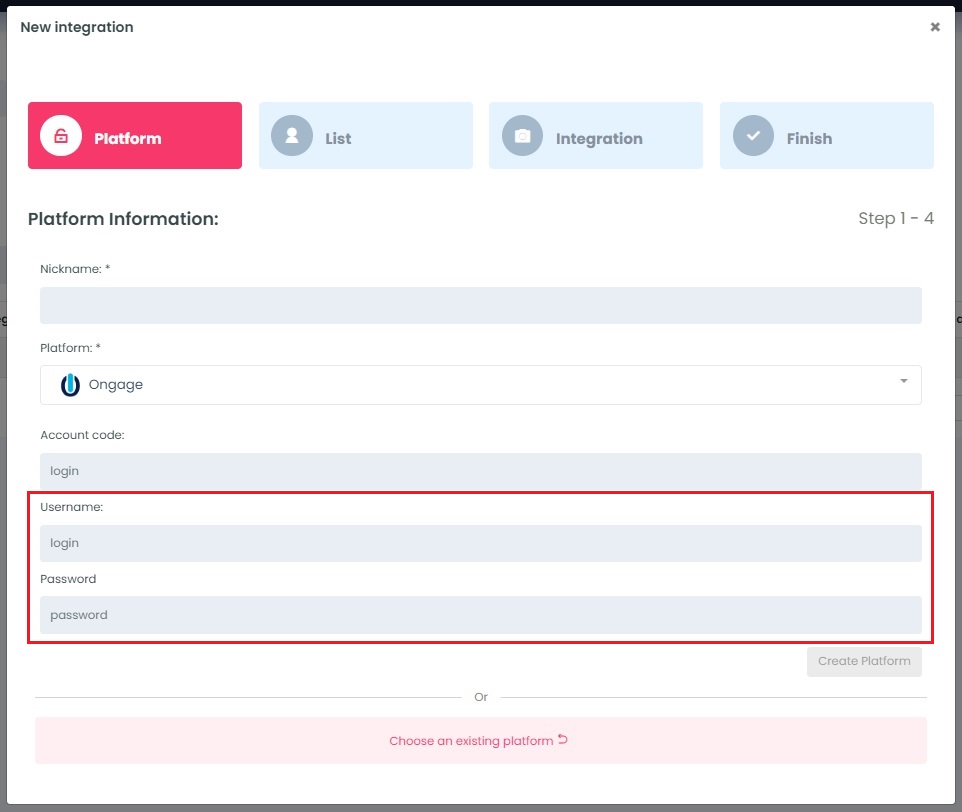
Click Create Platform. InboxGeek will fire a ping to the Account Code and verify your Ongage credentials are accurately entered.
If there are no issues then it will add the platform and populate the Next button.
Click Next to move to the next tab, List.
