Login to your InboxGeek account.
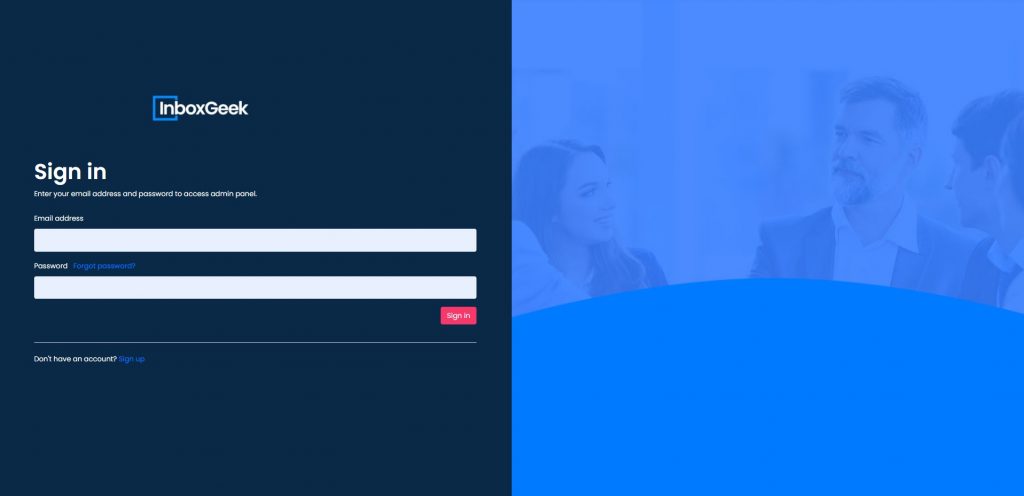
Click on LiveOpens → Integrations.

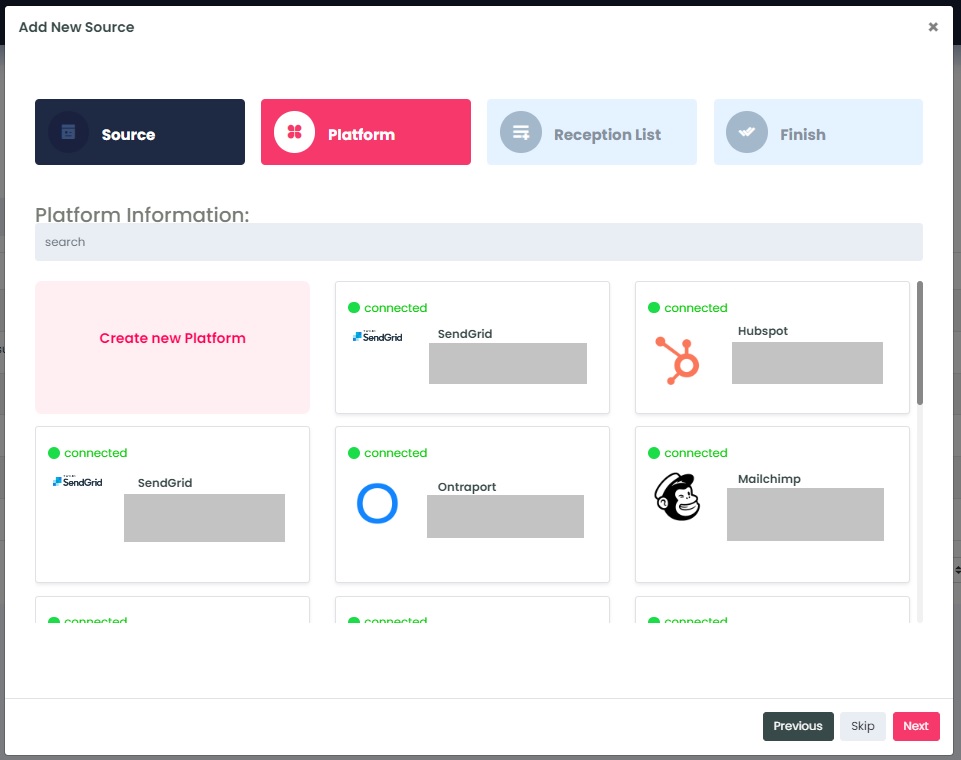
Click the Add New button for a new integration.

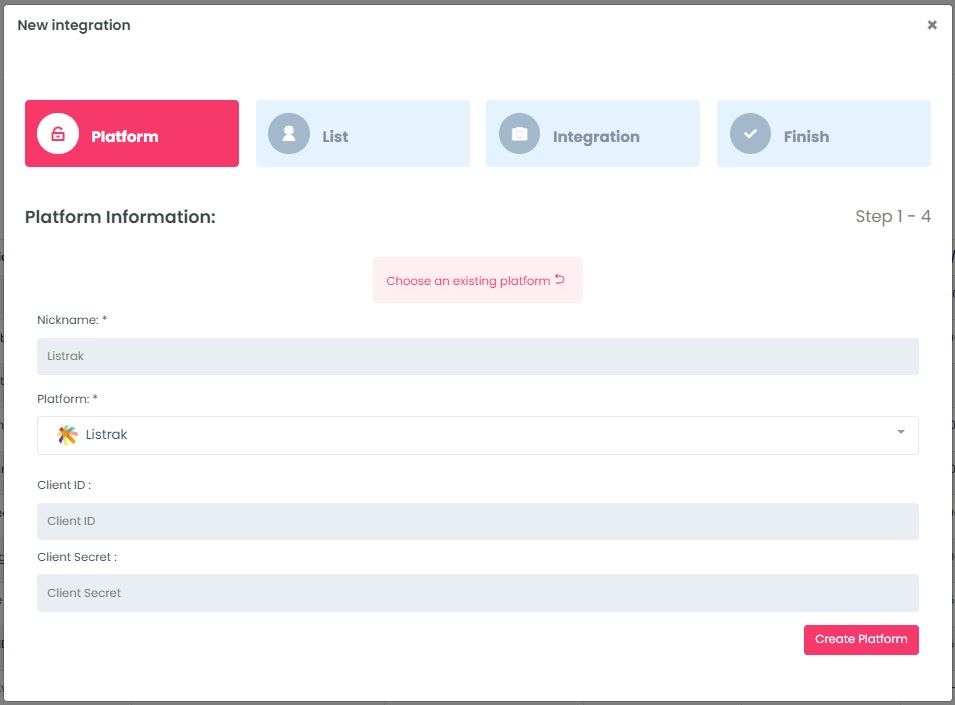
InboxGeek will store all previous platform account identification for quick integration creation. If the account for your new integration is not already stored, click Create new Platform.
From the drop-down menu, select Listrak.
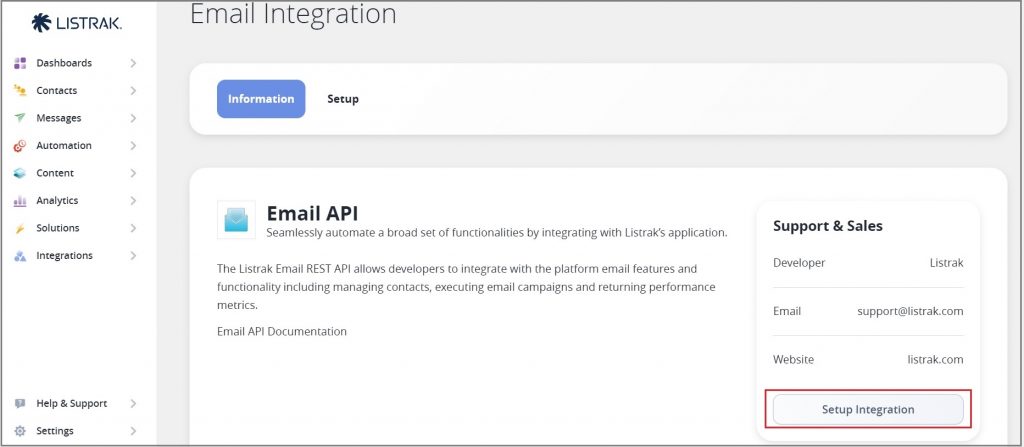
To retrieve the Client ID and Client Secret, login to your Listrak account.
Click on Integrations → Integrations Management.

Click New Integration.

Click Setup Integration.
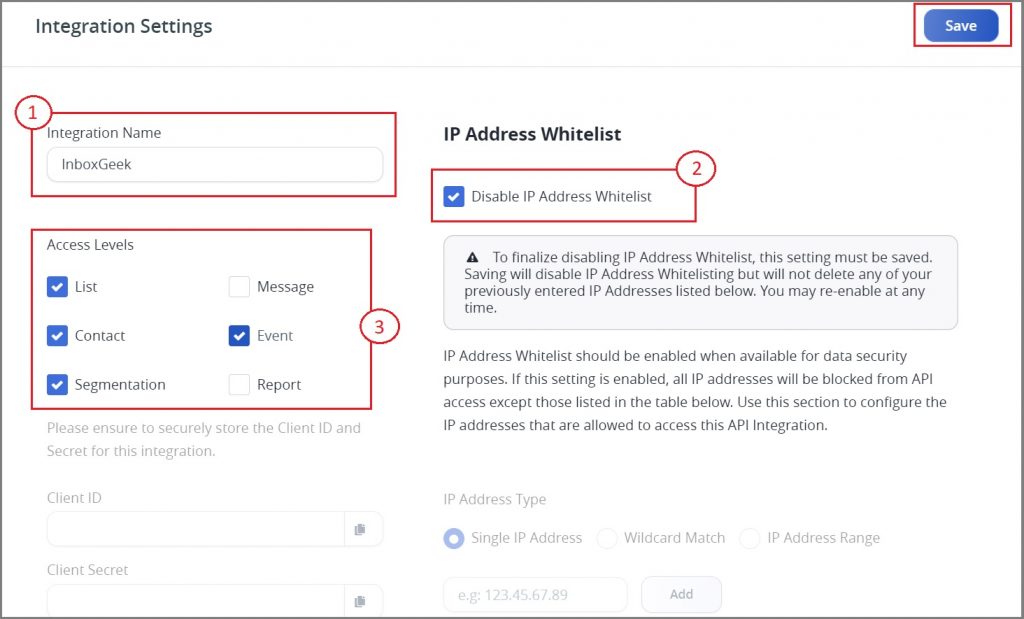
Next, create the settings for this integration:
- Name your new Integration.
- Click the box Disable IP Address Whitelist.
- Choose the Access Level by clicking List, Contact, Segmentation, and Event. All four of these options must be chosen in order for InboxGeek’s integration to work properly with Listrak.
Click Save.
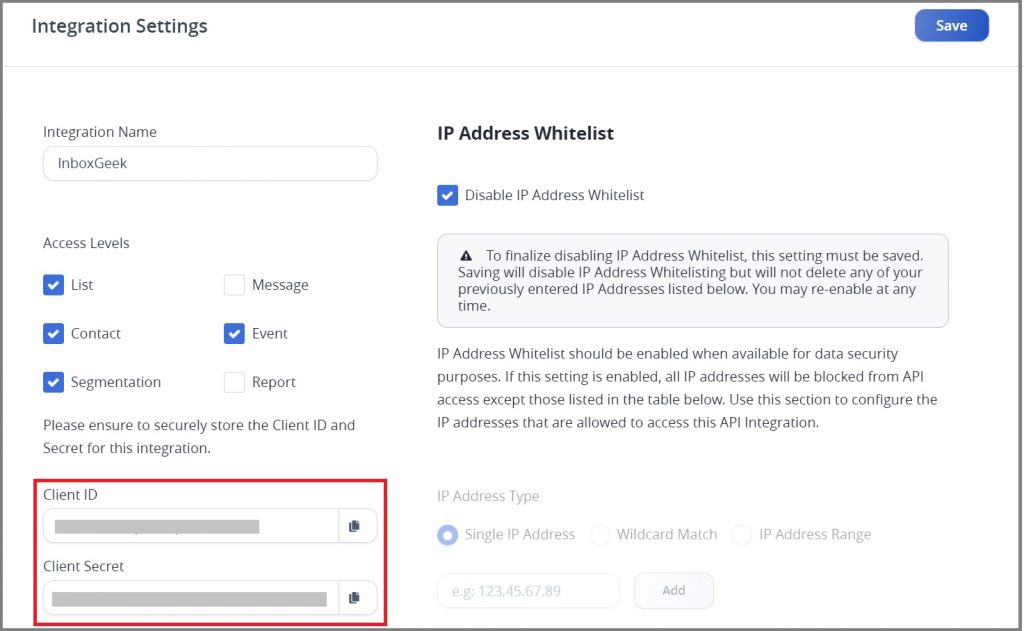
Copy your Client ID and Client Secret.
**NOTE** this is the only time you can copy the Client Secret, it will disappear after this screen and a new integration will need to be created if a copy is not used right away.
Return to InboxGeek and enter the copied Client ID in the Client ID field and the copied Client Secret into the Client Secret field.
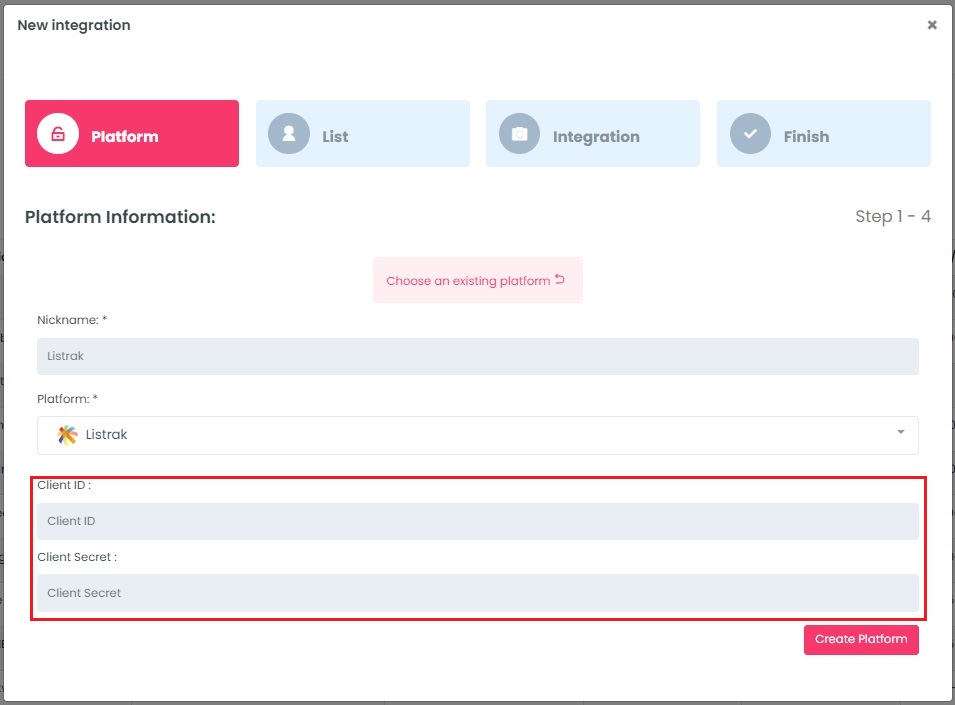
Click Create Platform. InboxGeek will fire a ping to the Client ID and Client Secret to confirm all is accurately entered.
If there are no issues then it will add the platform and populate the Next button.
Click Next to move to the next tab, List.
