Login to your InboxGeek account.

Click on Open Events → Integrations.

Click the Add New button for a new integration.

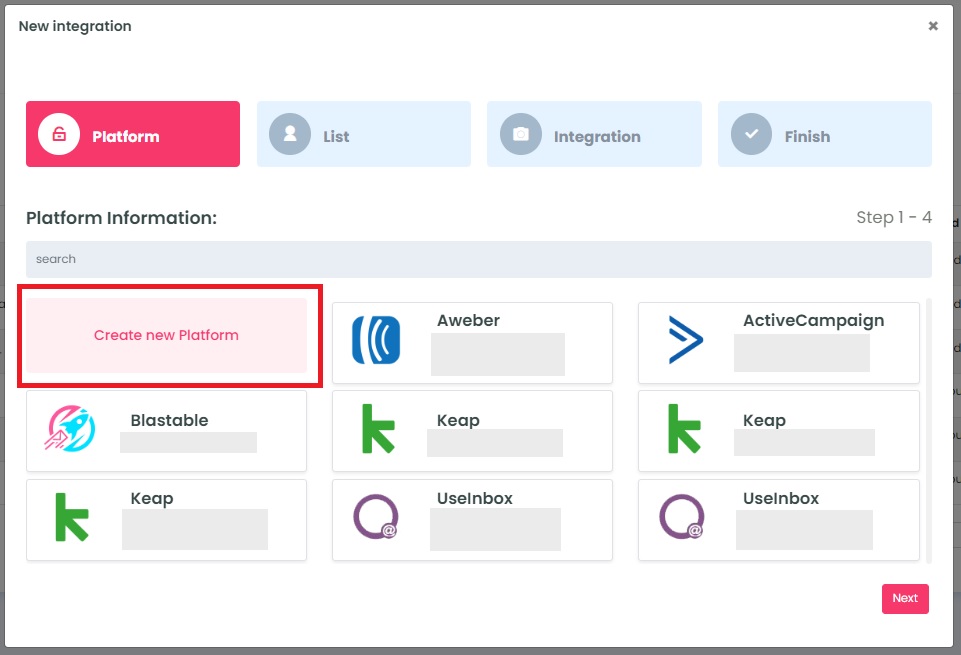
InboxGeek will store all previous platform account identification for quick integration creation. If the account for your new integration is not already stored, click Create new Platform.

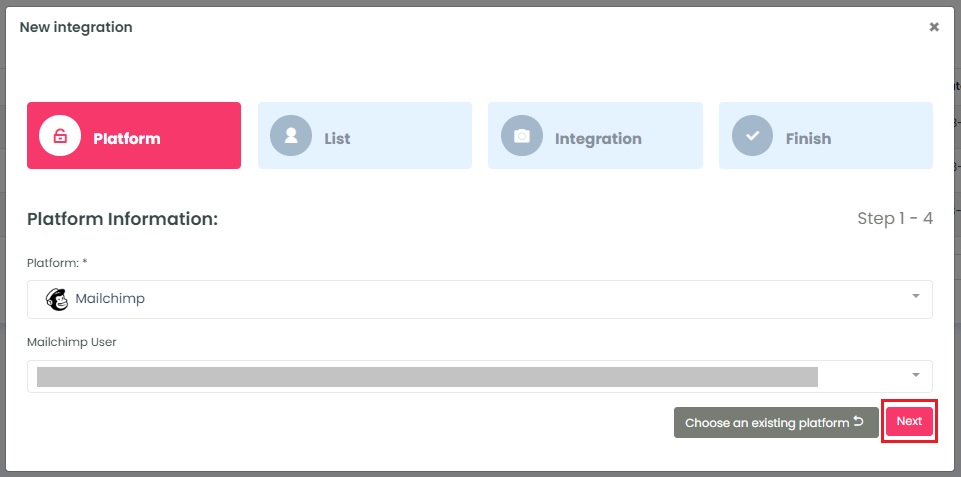
From the drop-down menu, select Mailchimp and then click Add New Mailchimp.
You will be redirected and the Mailchimp application will automatically open and request permission for access by having you sign into your Mailchimp account.

Once signed in to Mailchimp, you will automatically be redirected back to the InboxGeek portal. There is lag time of about 10 seconds before the New Integration window reappears. Your Account ID will auto-populate into the Account ID drop-down; select your Account ID.

Click Next. InboxGeek will fire a ping to the Account ID to confirm all is accurately entered.
If there are no issues then it will move you to the next tab, List.
