In this article…
Quick Links
Managing Your Account Settings
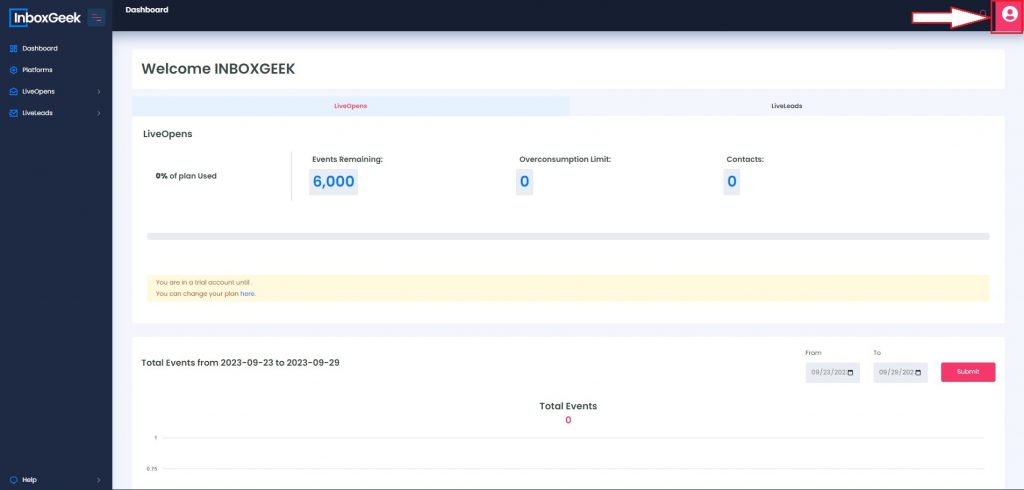
From the profile icon in the upper-right hand corner of the portal you can access the profile settings, subscription information, user management, and notification settings.
Profile Settings
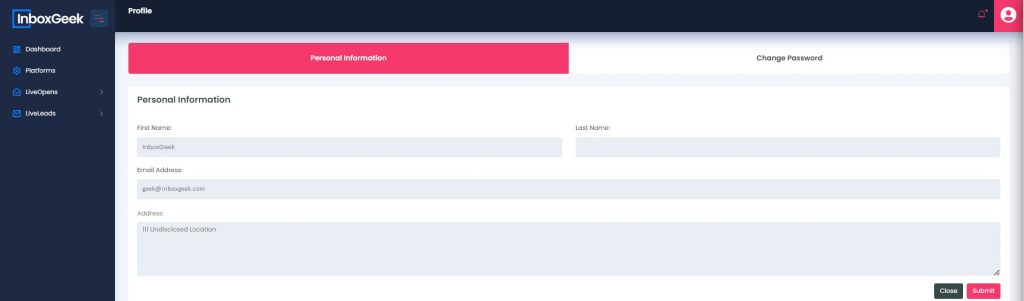
The Personal Information that can be updated in this section is strictly for the account owner. The first and last name, email address, and billing address are available to edit but not the company name. Note, the email address that is on file for the account is where all notifications will be sent, including the system generated event logs.
Update Password
To update your password within your InboxGeek portal:
- Enter your current password
- Enter your new password
- Confirm your new password
- Click submit.

If you cannot remember your current password, reset your password by following this link. Follow the prompts thereafter to update your forgotten password.
User Management and Notification Settings
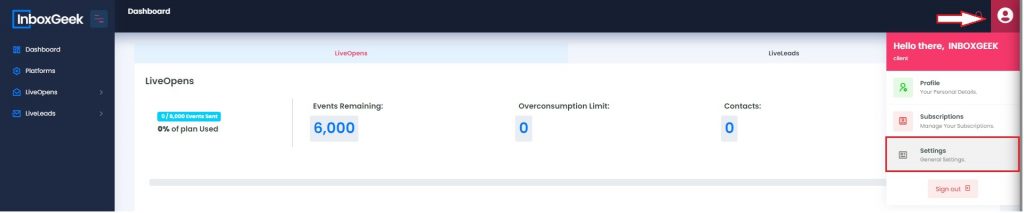
To update your notification settings or manage users for the account, go to the Profile icon and click Settings.
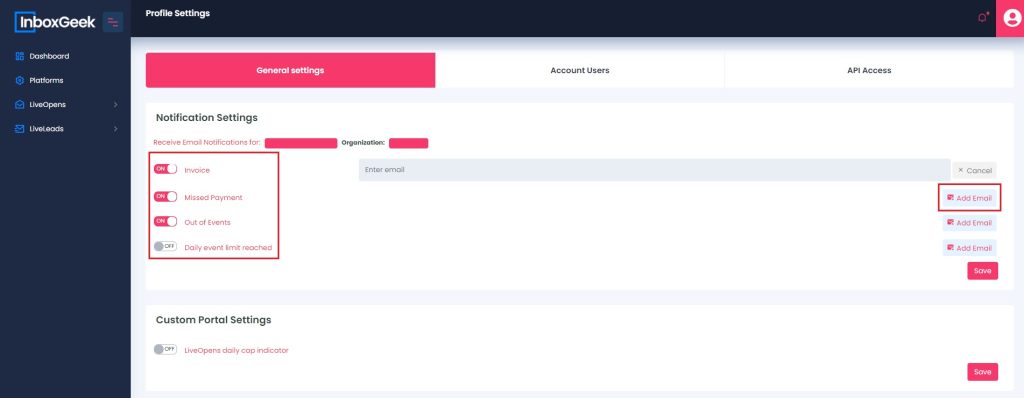
To update your notification settings for your invoice, missed payments, or events notifications:
- Click on the Notifications settings tab.
- Toggle on / off the settings you’d like to receive email notifications for.
- Enter the email address of who should receive the notifications.
- Click save.
Settings to note:
- Upon account creation, the notification settings are automatically set on and will be sent to the email address that was used to set up the account.
- You can turn off any notifications that you do not want, and you can update the email address that you would like the notifications to be sent to.
- For example, if you would like your invoice to be sent to your accounting department, you would enter the accounting department’s email address in the Invoice field.
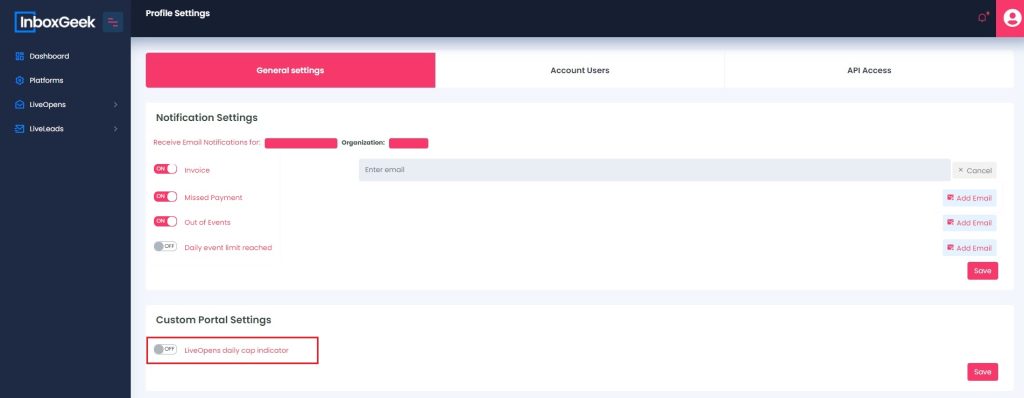
To update your custom portal settings toggle on or off the Daily Cap indicator. This setting will highlight any LiveOpens integration that is not hitting its daily limit, indicating it may be time for some integration maintenance.
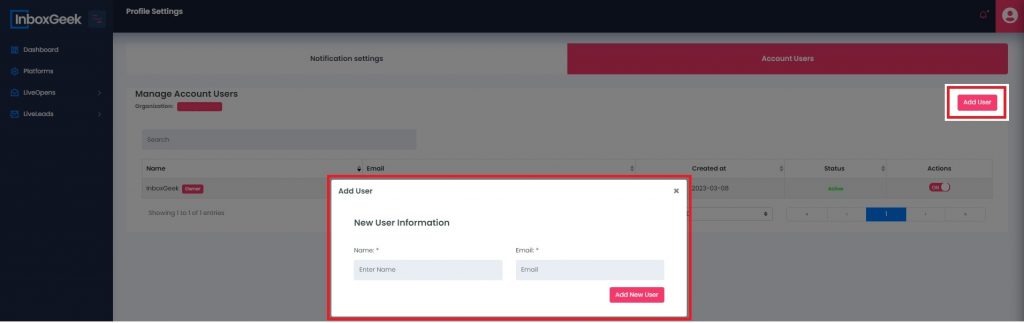
To edit and add account users:
- Click on the Account Users tab.
- Click the Add User button.
- Enter the name and email address of the user that you would like to add.
- Click the Add New User button.
The user will receive an email with a temporary password. They can use this password to sign in to the InboxGeek portal and update their password.
At this time, there are no restrictions that you can put in place for new users. They will have access to everything, including subscriptions and billing information.