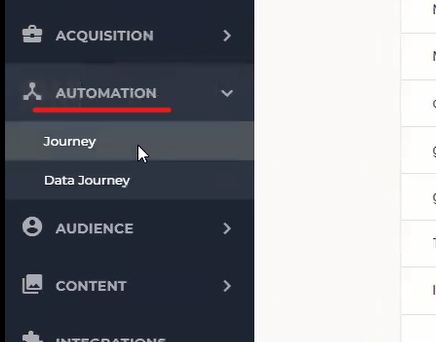
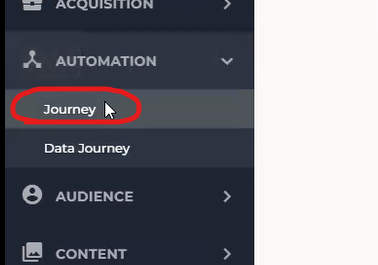
1. In Maropost, go to Marketing > Automation > Journeys and click New Journey, then Create from scratch.
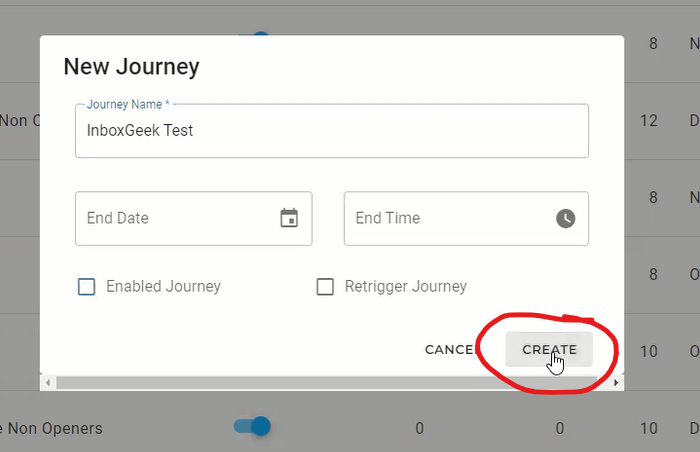
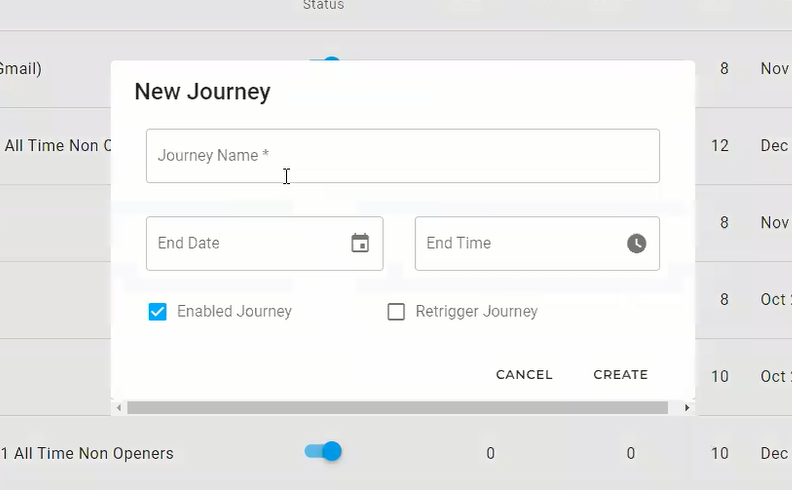
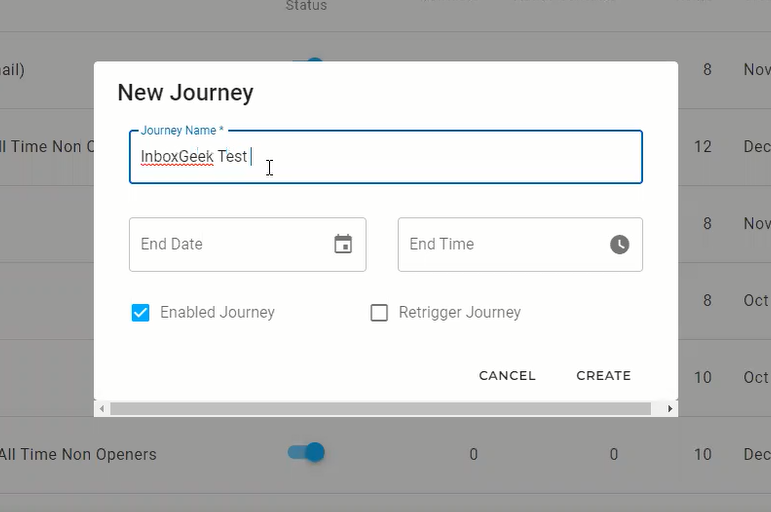
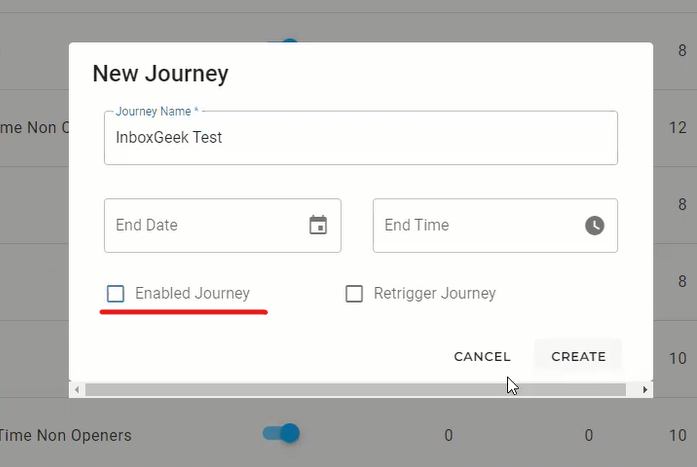
2. Enter a Journey Name. Leave Enable Journey unchecked while you build. Optionally check Retrigger Journey if contacts should be able to go through again after finishing. Click Create.
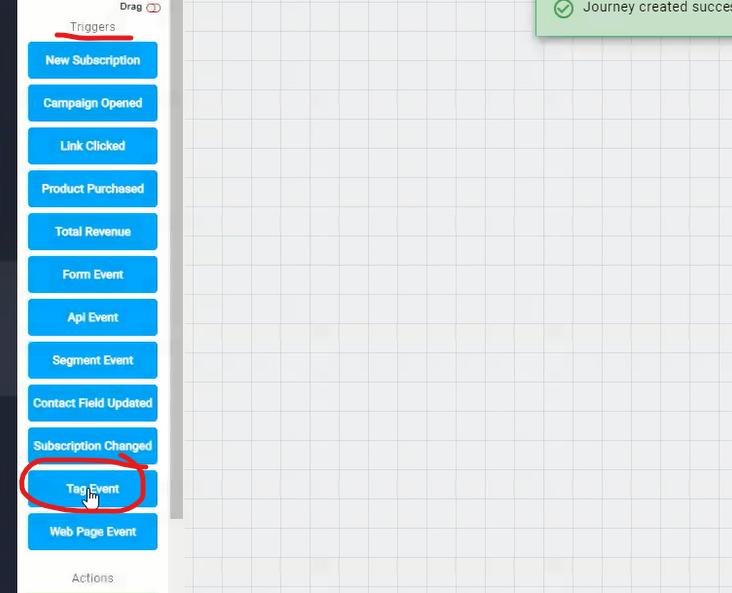
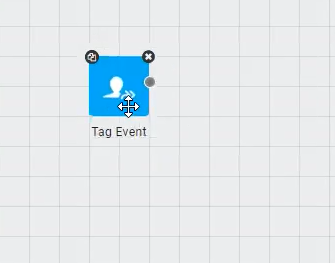
3. From the left panel, drag a Tag Event trigger onto the canvas, open it, set it to tag added, and choose the tag from your InboxGeek integration.
4. Drag a Send Email action below it and connect the trigger to it. Add an End widget after it (every branch needs one).
5. Click Save.
6. Important: On the Journeys page, switch the journey’s status toggle on. If you skip this, no emails are sent.