
Create a name for this integration in the Name field.
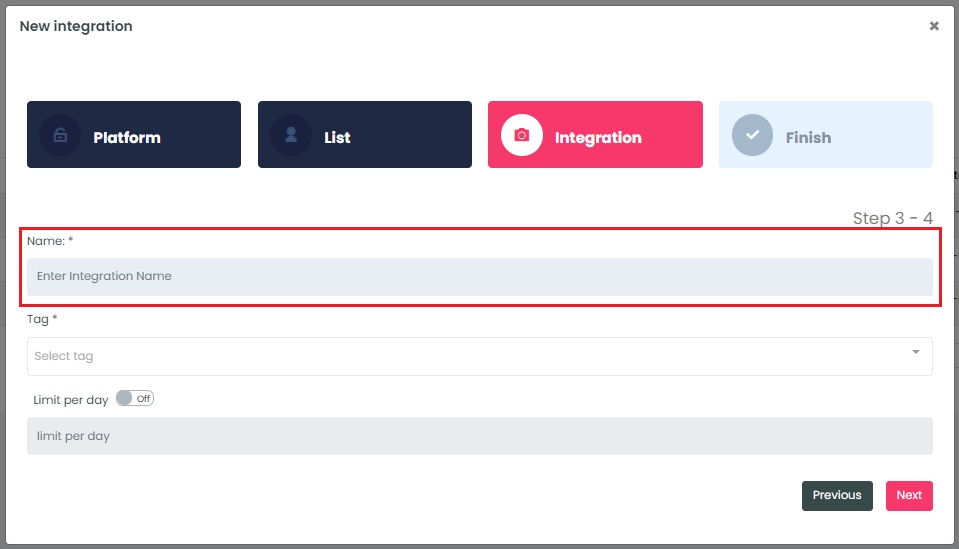
InboxGeek will load all existing tags from HighLevel into the Tag drop-down menu.
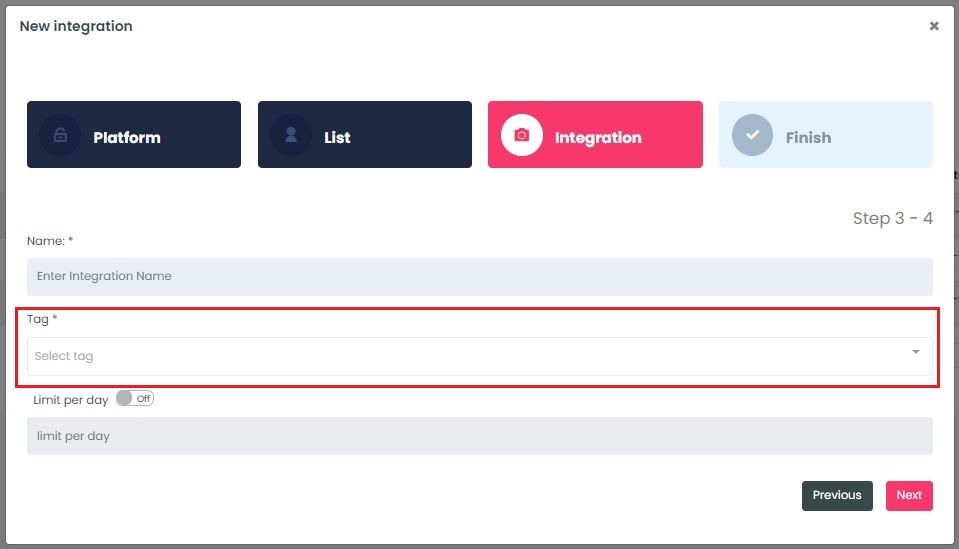
Choose your Reception Tag: the tag InboxGeek adds to a contact when it sends an event. Pick an existing tag, or type a new name and click Create tag; InboxGeek creates it in HighLevel for you. Use a tag nothing else in your account adds, and do not use the same tag you chose in List.
If a tag was created successfully, a window will appear with confirmation.
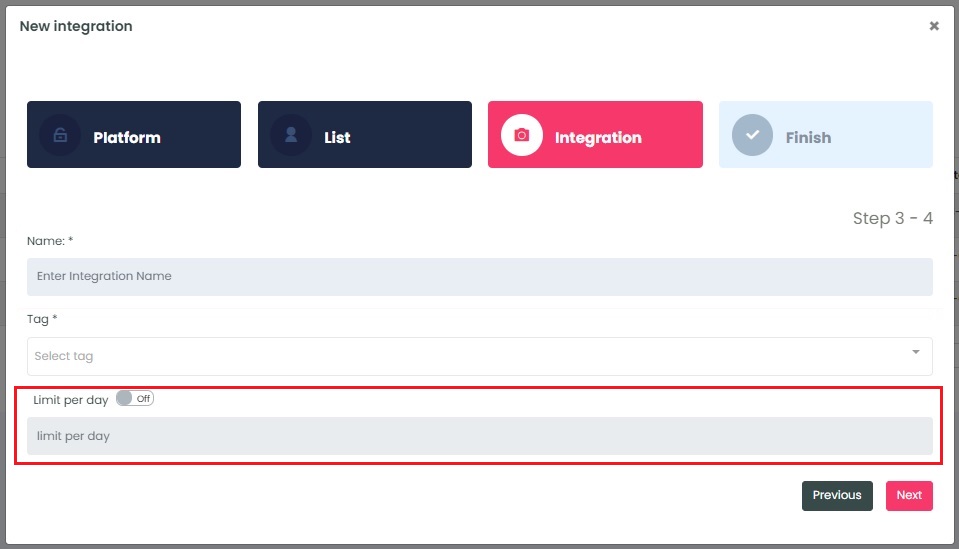
Select the customization for this integration:
- Limit per day → the number of contacts InboxGeek should tag each day. InboxGeek recommends starting at 200. The day runs on Eastern Time (ET), not your local time or your HighLevel time zone. If you do not set a limit, InboxGeek may tag far more contacts than you expect.
- Why you may see more than your limit: InboxGeek aims for a little over your limit each day, between 1.1 and 1.5 times it. For example, with a limit of 200, expect roughly 220 to 300 contacts to get the Reception Tag in a day.
Once features have been enabled and completed, click Next. A window will appear to confirm the integration was a success.
Return to the HighLevel dashboard and create a new automation (see HighLevel – Create an Automation). You do not need InboxGeek’s Webhook integration for HighLevel; this integration works through your API key and tags.
NOTE: InboxGeek will begin sending events after midnight ET even if an automation is not created in your HighLevel account. If you are not ready to create your automation, turn off this integration immediately. To learn how, visit the Your InboxGeek Portal guide > Turning off your integration.
Test it: After your ESP automation is on, go to LiveOpens → Integrations → Actions → Send Test Flow, enter an email address, and confirm the email arrives.